Getting Started with Libro
Set up your account, create your first company, and start recording transactions in under 10 minutes.
Getting Started with Libro
Welcome to Libro. This guide walks you through everything you need to go from sign-up to your first financial report.
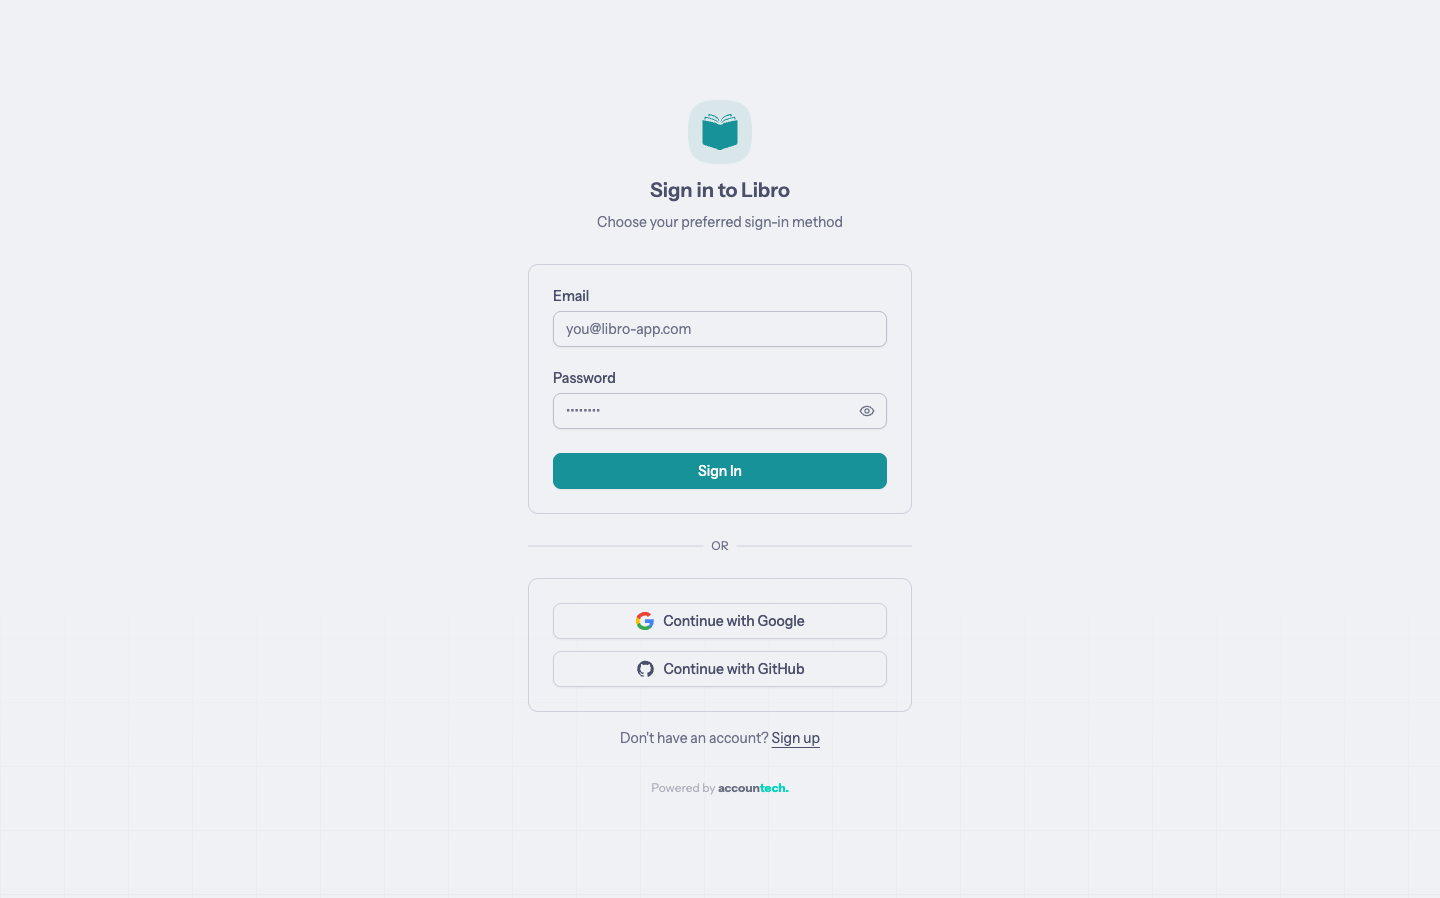
1. Create your account
Head to libro-app.com and click Get started. You can sign up with your email or use Google or GitHub to sign in.
After signing up, you’ll land on the home screen where you can create your first company.
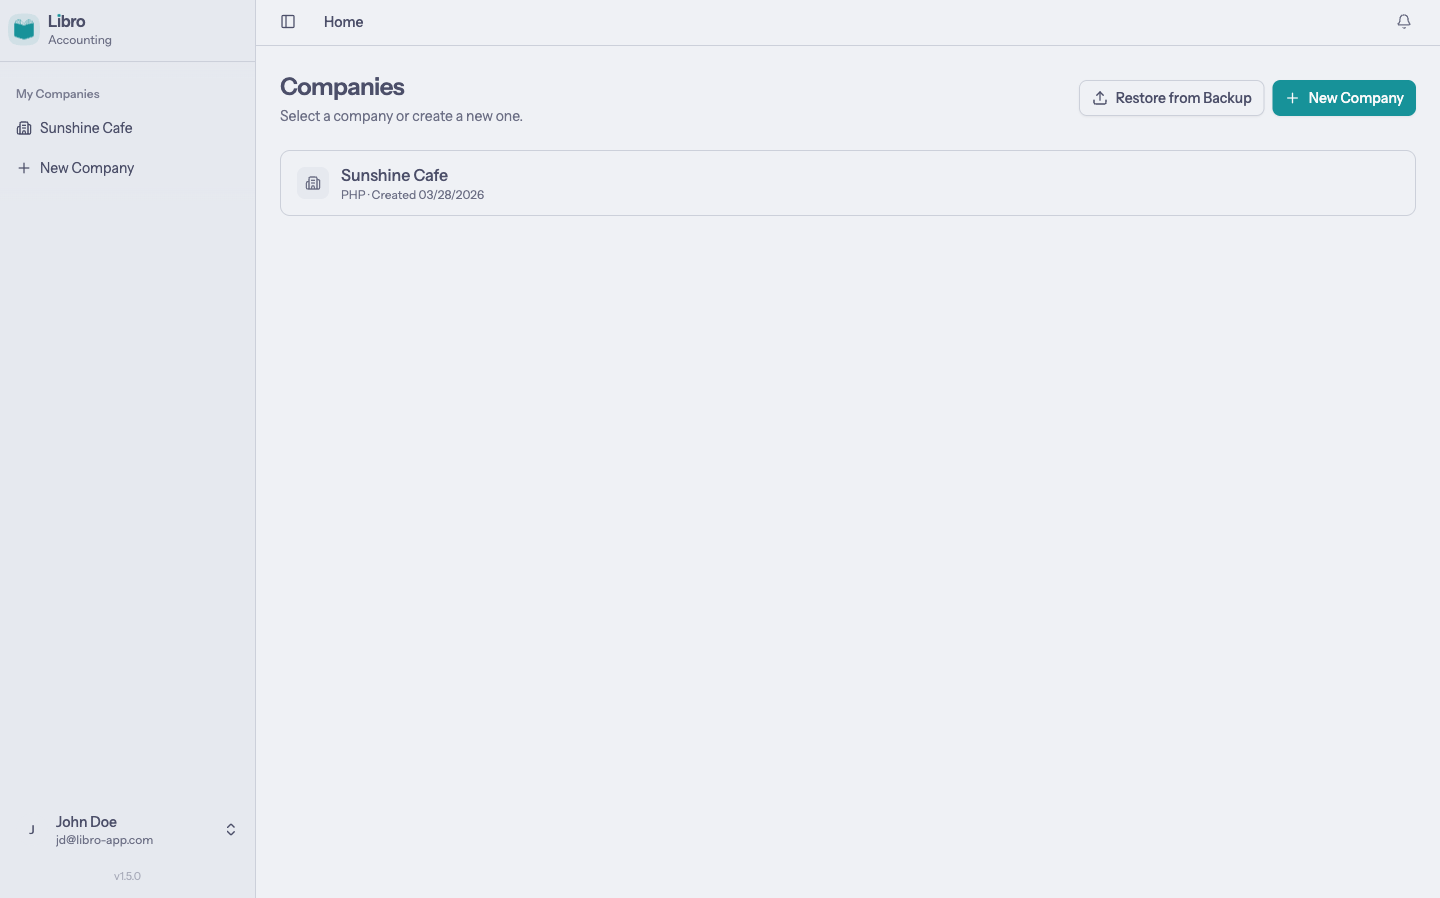
2. Create your first company
Click Create Company to start the setup wizard. You’ll go through three steps: Identity, Setup, and Accounts.
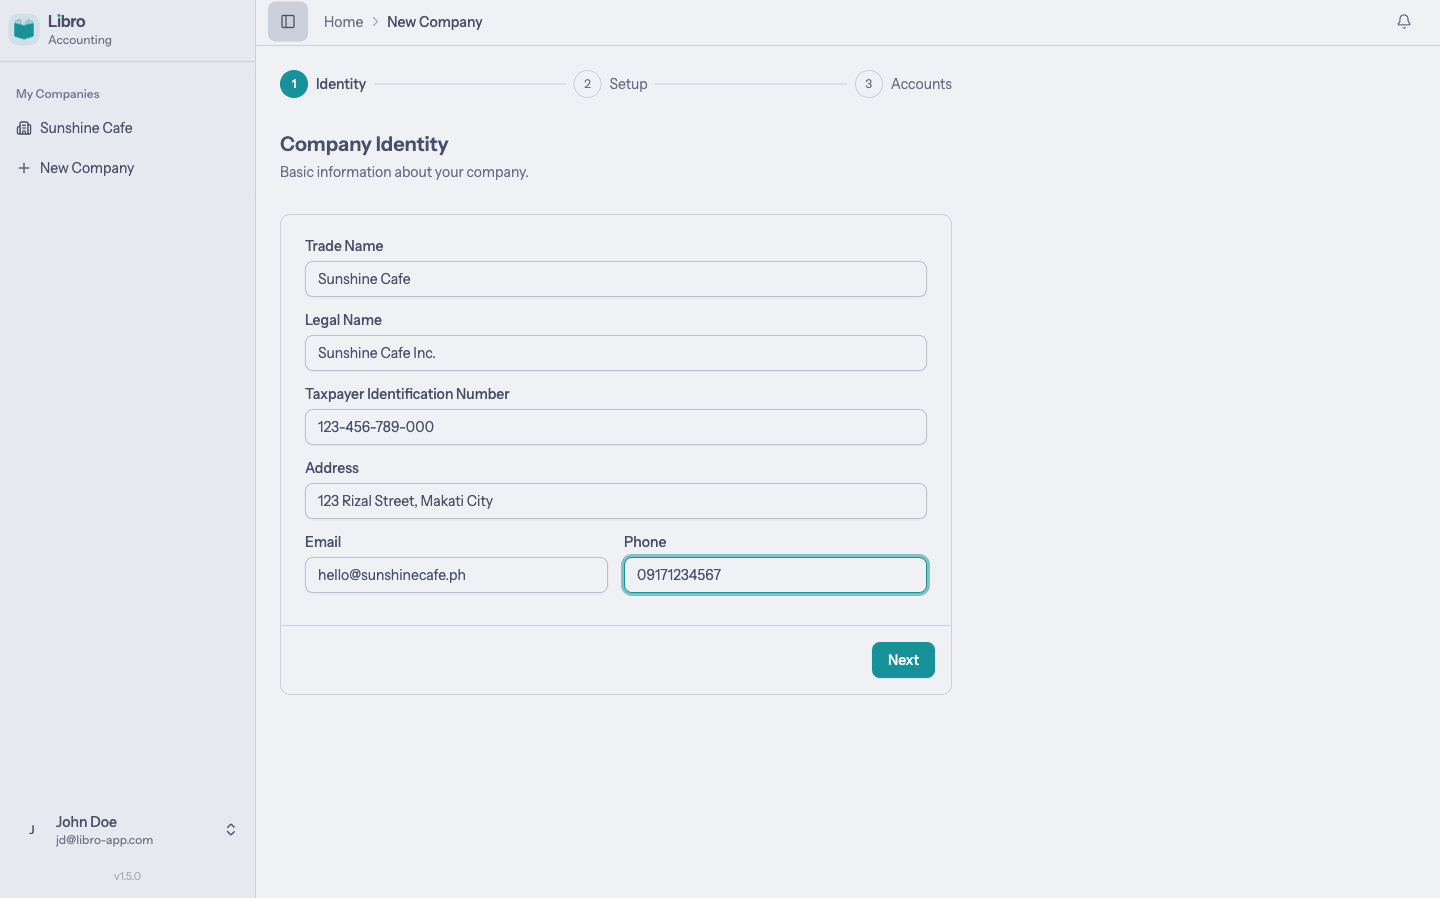
Step 1: Company Identity
Enter your company’s trade name (the name you do business as) and legal name (your registered business name). You can also add your TIN, email, phone, and address.
Step 2: Business Setup
This is where you configure how your business operates. Everything is on one page:

Legal structure lets you choose between sole proprietorship, partnership, corporation, or cooperative. This determines which equity accounts Libro generates for you.
Business type lets you select service, merchandising, manufacturing, or a combination. Each type adds relevant accounts (e.g., merchandising adds inventory and cost of goods sold).
Bookkeeping method lets you pick between single-entry and double-entry:
- Single-entry is simpler and works well for very small businesses tracking income and expenses.
- Double-entry is the standard for proper accounting. Every transaction has equal debits and credits.
Deferral method (double-entry only) can be asset approach or expense approach. This determines how prepaid items like rent and supplies are initially recorded.
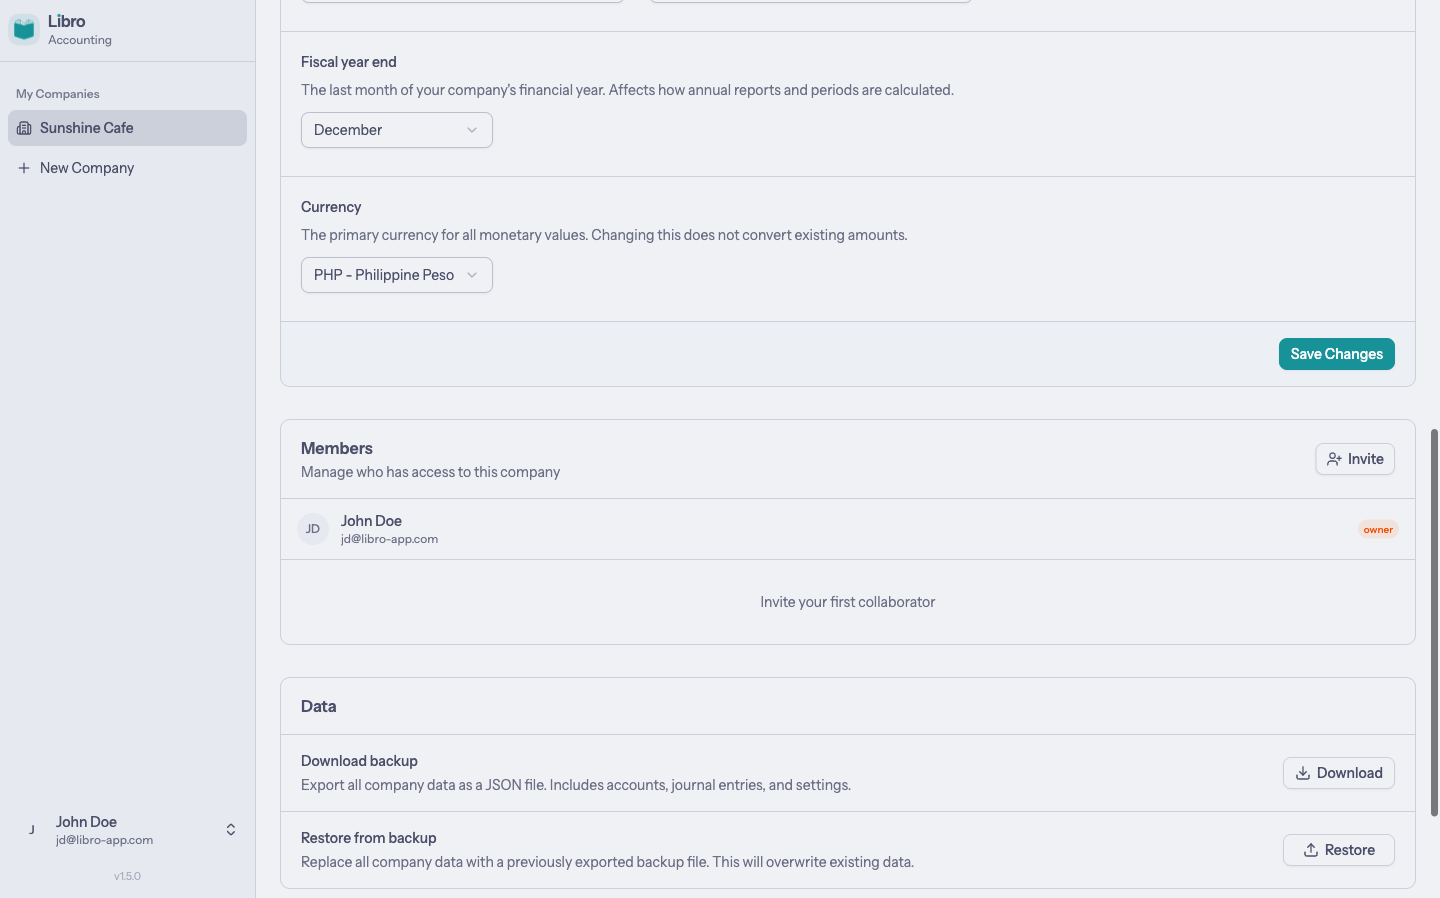
Fiscal year and currency lets you set your fiscal year end month (most Philippine businesses use December) and currency (defaults to PHP).
You can also use the Quick Setup button at the top for a common default configuration (Sole Proprietorship, Service, Double Entry, Asset Method).
Step 3: Additional Accounts
Choose which optional account modules to include in your chart of accounts:
- Receivables for tracking what customers owe you
- Inventory for merchandise or raw materials
- Fixed Assets for land, buildings, and equipment
- Payroll for salaries and government contributions (SSS, PhilHealth, Pag-IBIG)
- Taxes for input/output VAT and withholding taxes
- Loans for notes payable and bank charges
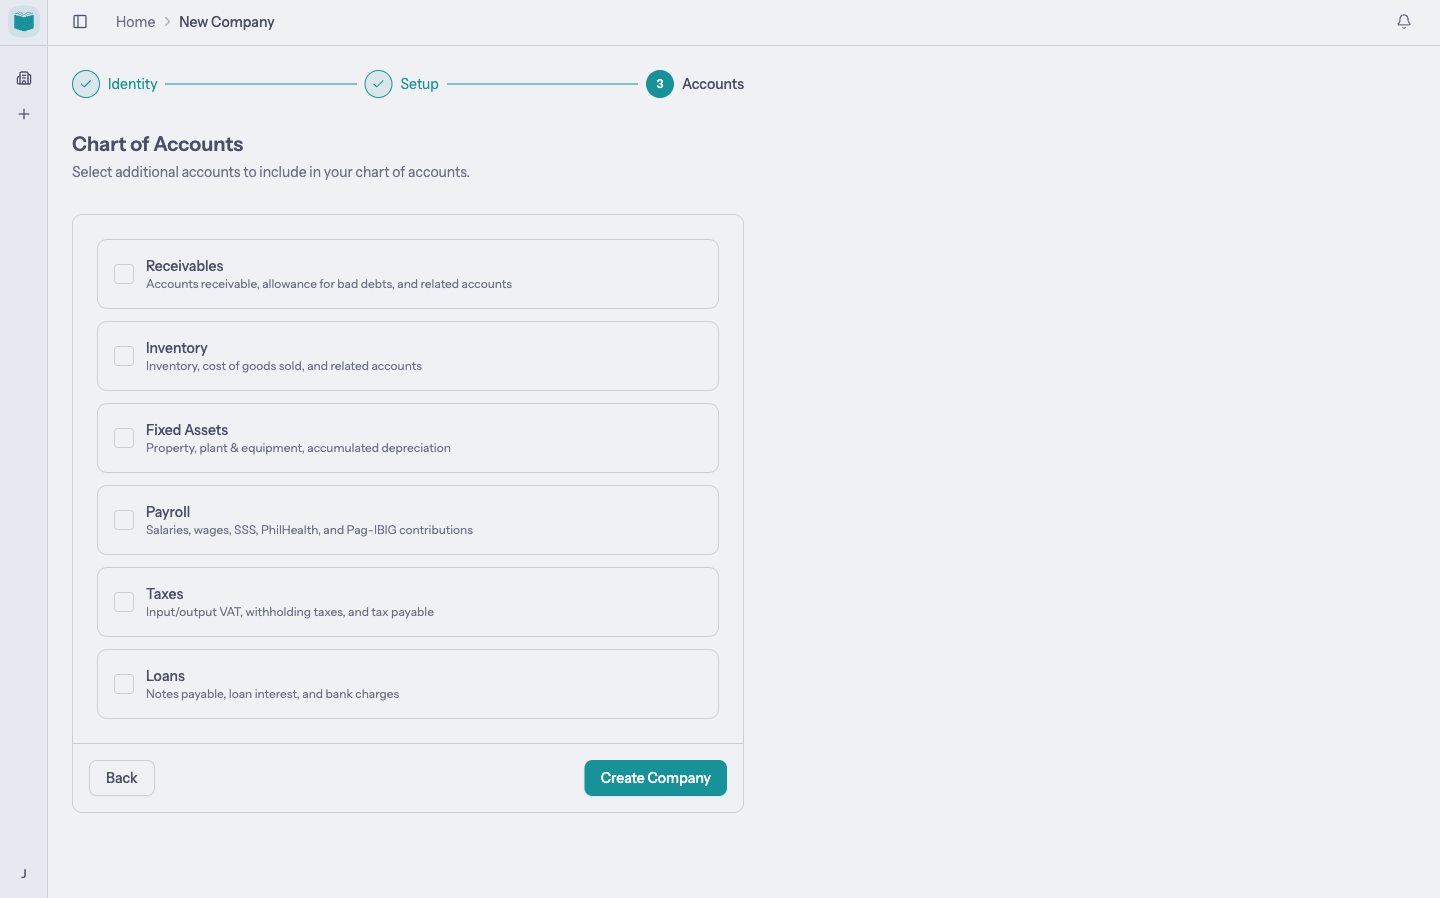
Each module adds the relevant accounts to your chart of accounts automatically. Click Create Company when you’re ready.
3. Explore your chart of accounts
After creating your company, Libro automatically generates a complete chart of accounts based on your business structure, type, and selected modules.

Your accounts are organized by type:
- 1000s are Assets (cash, receivables, inventory, equipment)
- 2000s are Liabilities (payables, loans, taxes payable)
- 3000s are Equity (owner’s equity, retained earnings)
- 4000s are Revenue (sales, service income)
- 6000s are Expenses (rent, salaries, utilities)
You can add custom accounts, edit existing ones, or deactivate accounts you don’t need. Click any account to view its ledger with all posted transactions.
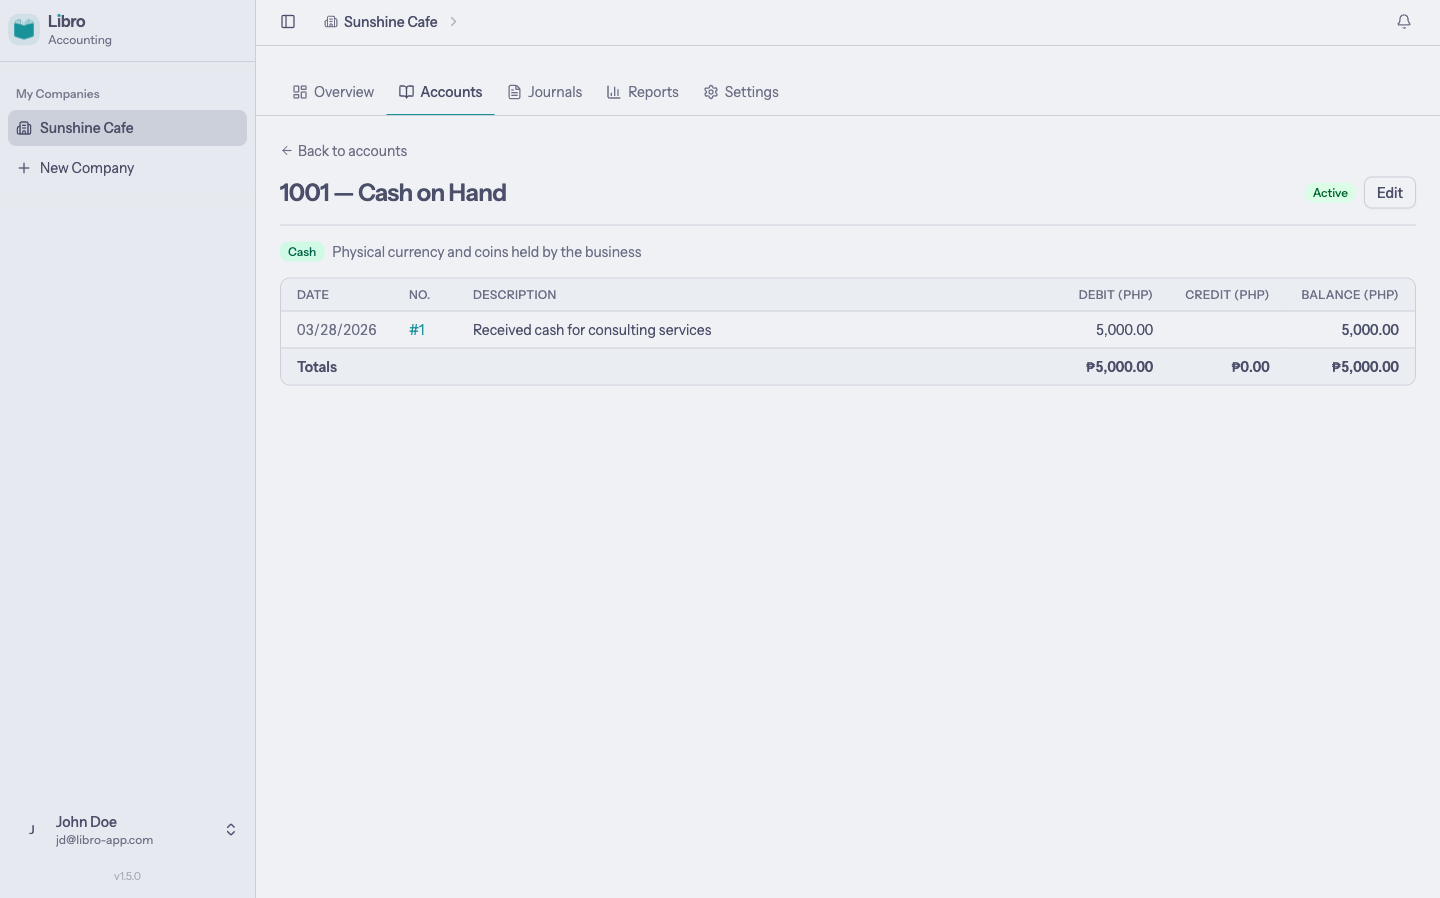
4. Record your first journal entry
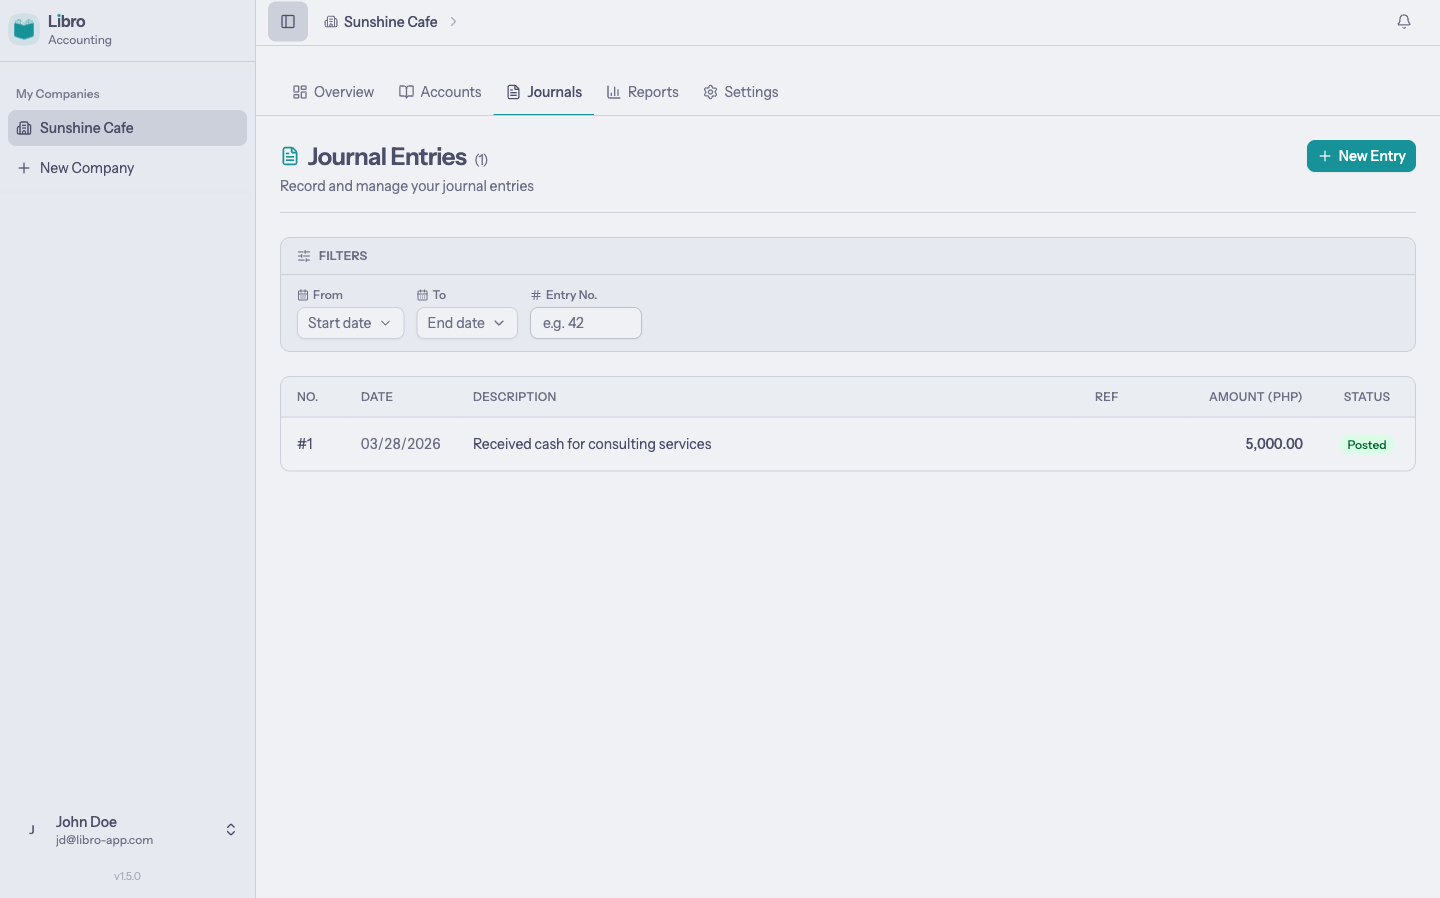
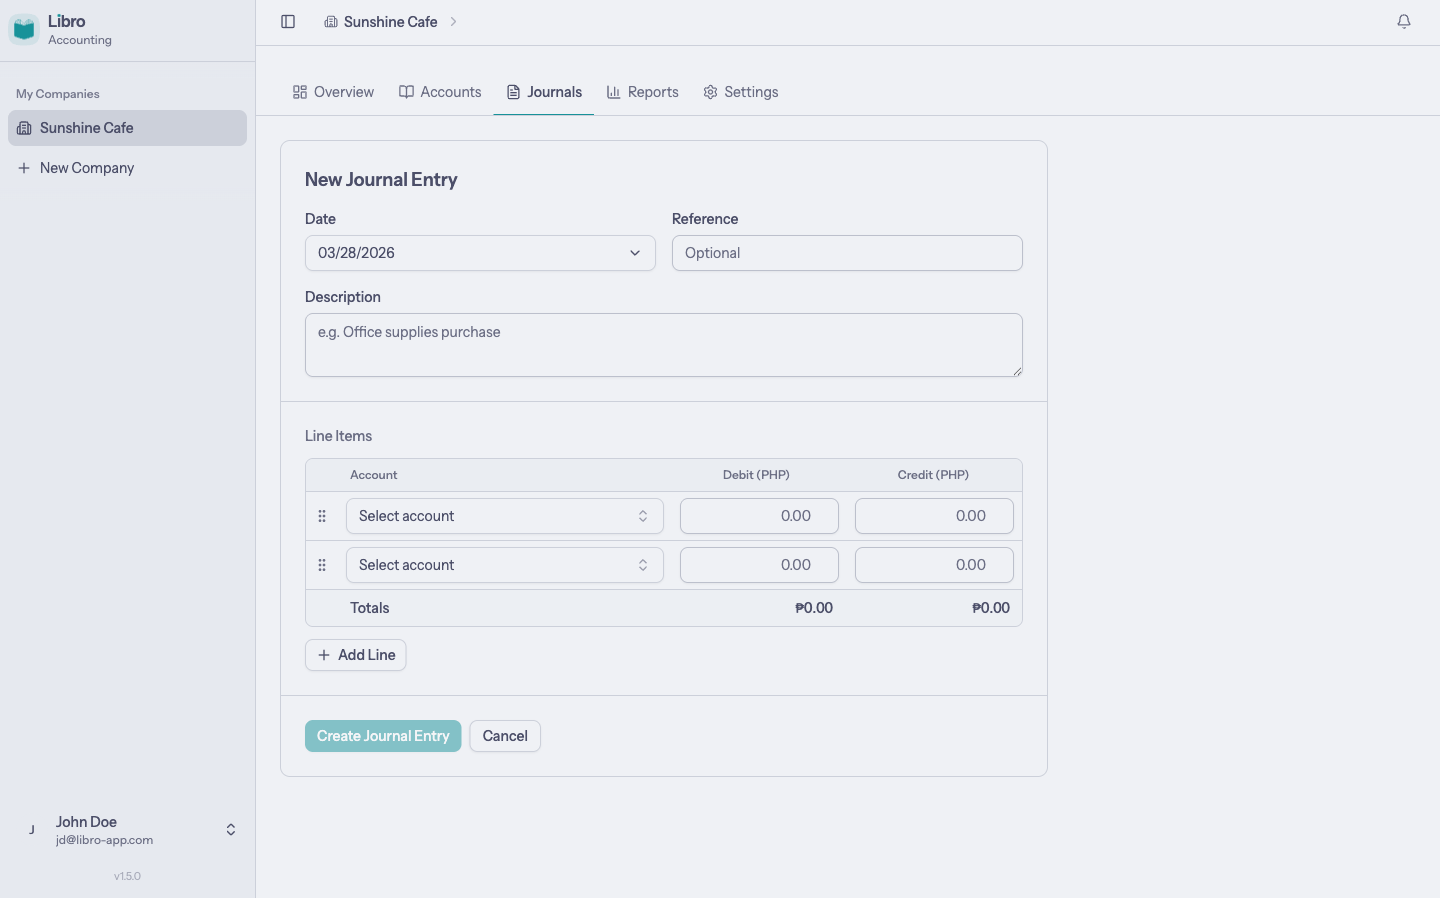
Navigate to Journals from the top navigation and click New Entry.
Creating an entry
Every journal entry needs:
- A date for when the transaction occurred
- A description explaining what happened
- At least two lines with accounts and amounts
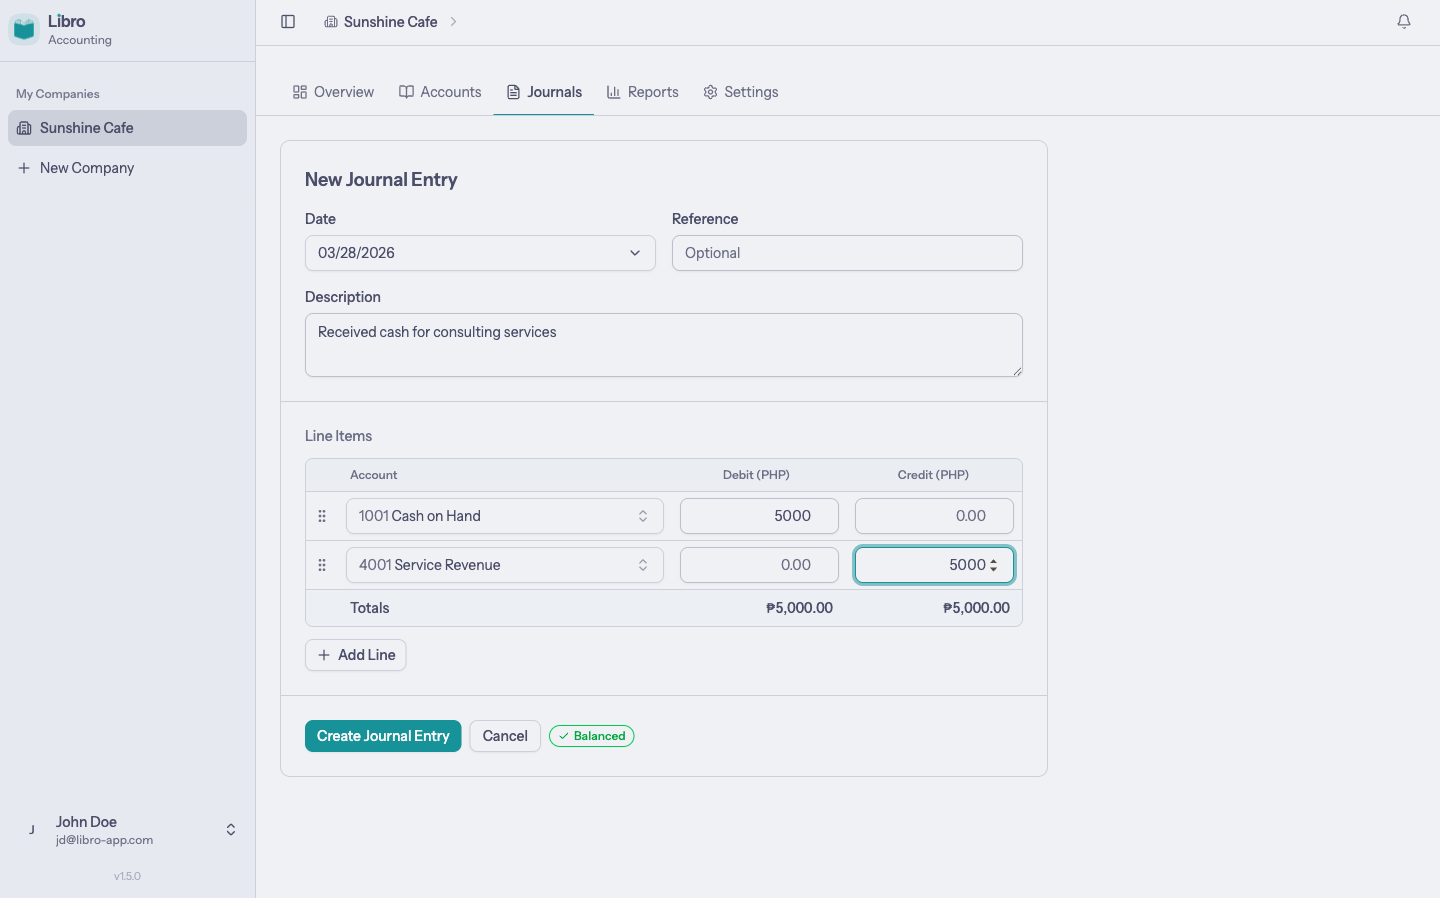
For double-entry bookkeeping, your total debits must equal your total credits. Libro validates this in real-time. You’ll see a Balanced indicator when the entry is valid.
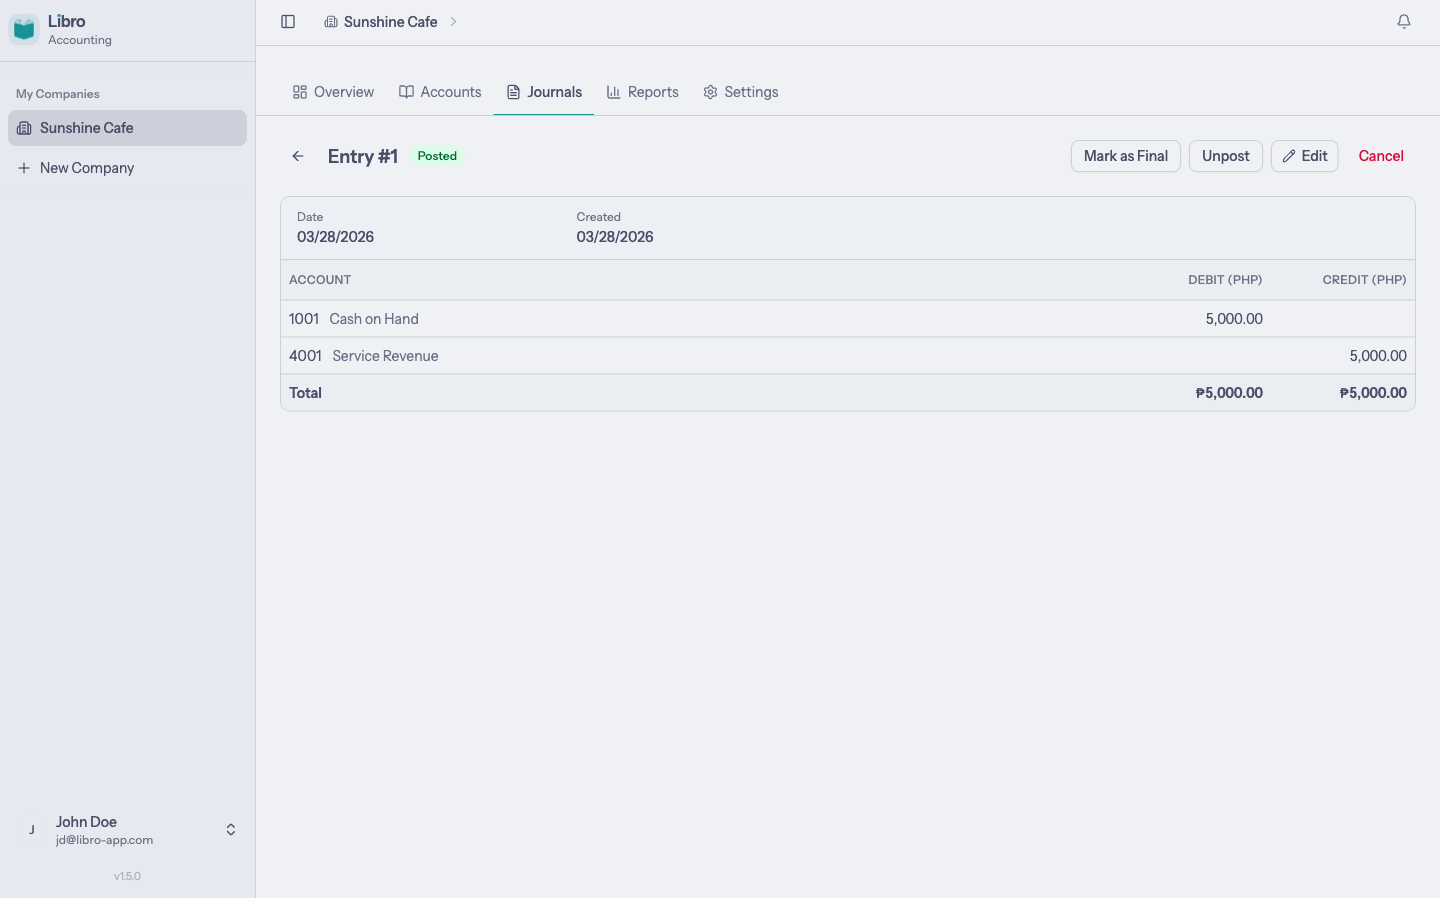
Example: Recording a cash sale
Let’s say you received PHP 5,000 cash for consulting services:
| Account | Debit | Credit |
|---|---|---|
| Cash on Hand | 5,000 | |
| Service Revenue | 5,000 |
Select the accounts from the dropdown, enter the amounts, and Libro shows you the running totals.
Entry statuses
After creating an entry, it starts as a Draft. You can then change its status:
- Draft is still being worked on and can be edited freely
- Posted affects your account balances and shows up in reports
- Final is permanently locked and cannot be changed
- Cancelled means the entry is voided and no longer affects balances
5. Generate your first report
Once you have posted entries, head to Reports to see your financial data.
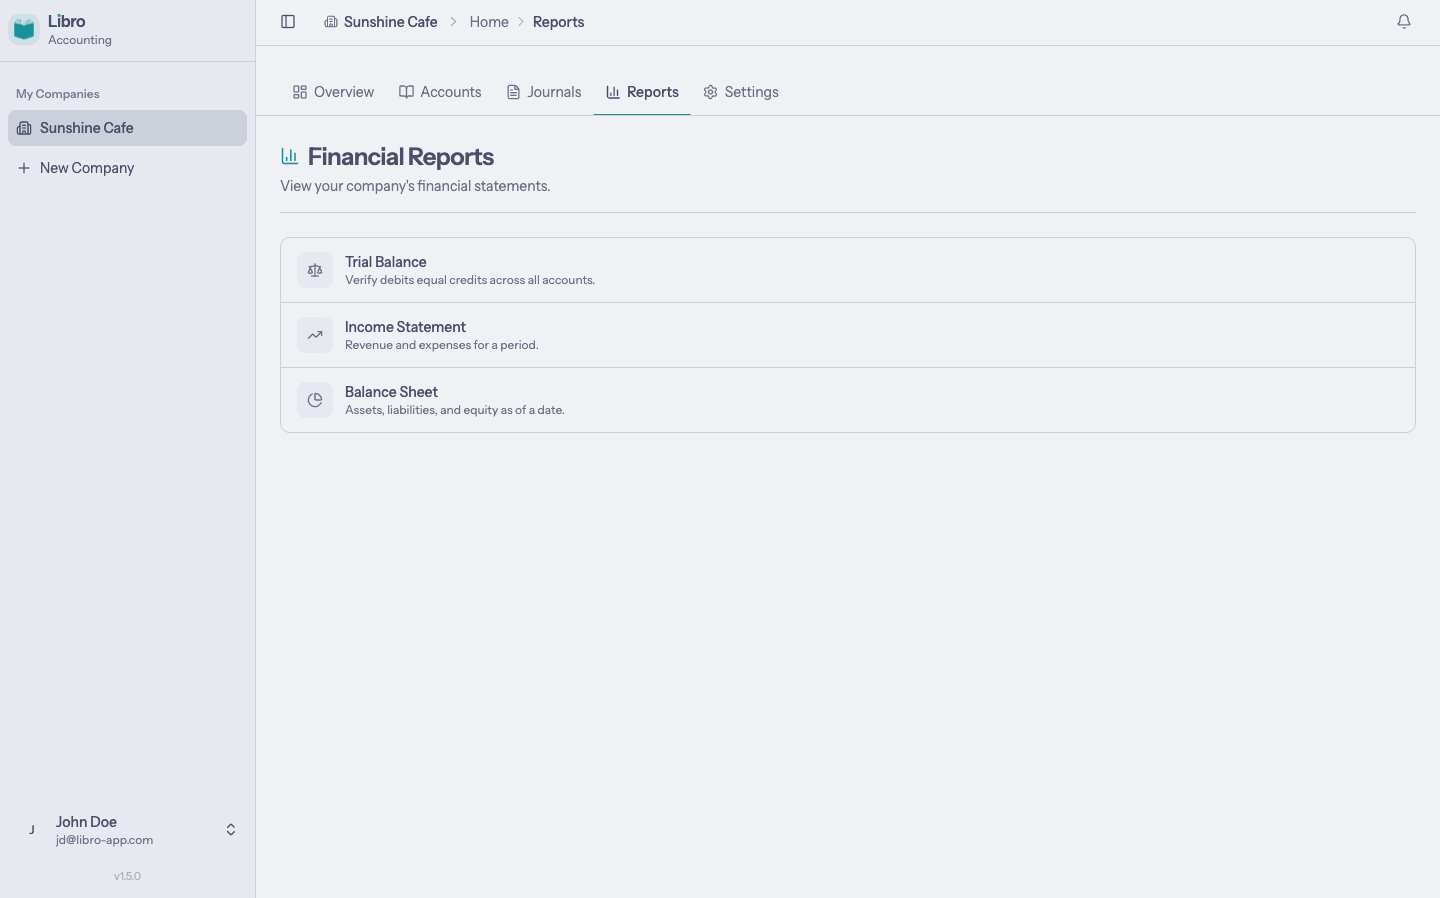
Libro gives you three core reports:
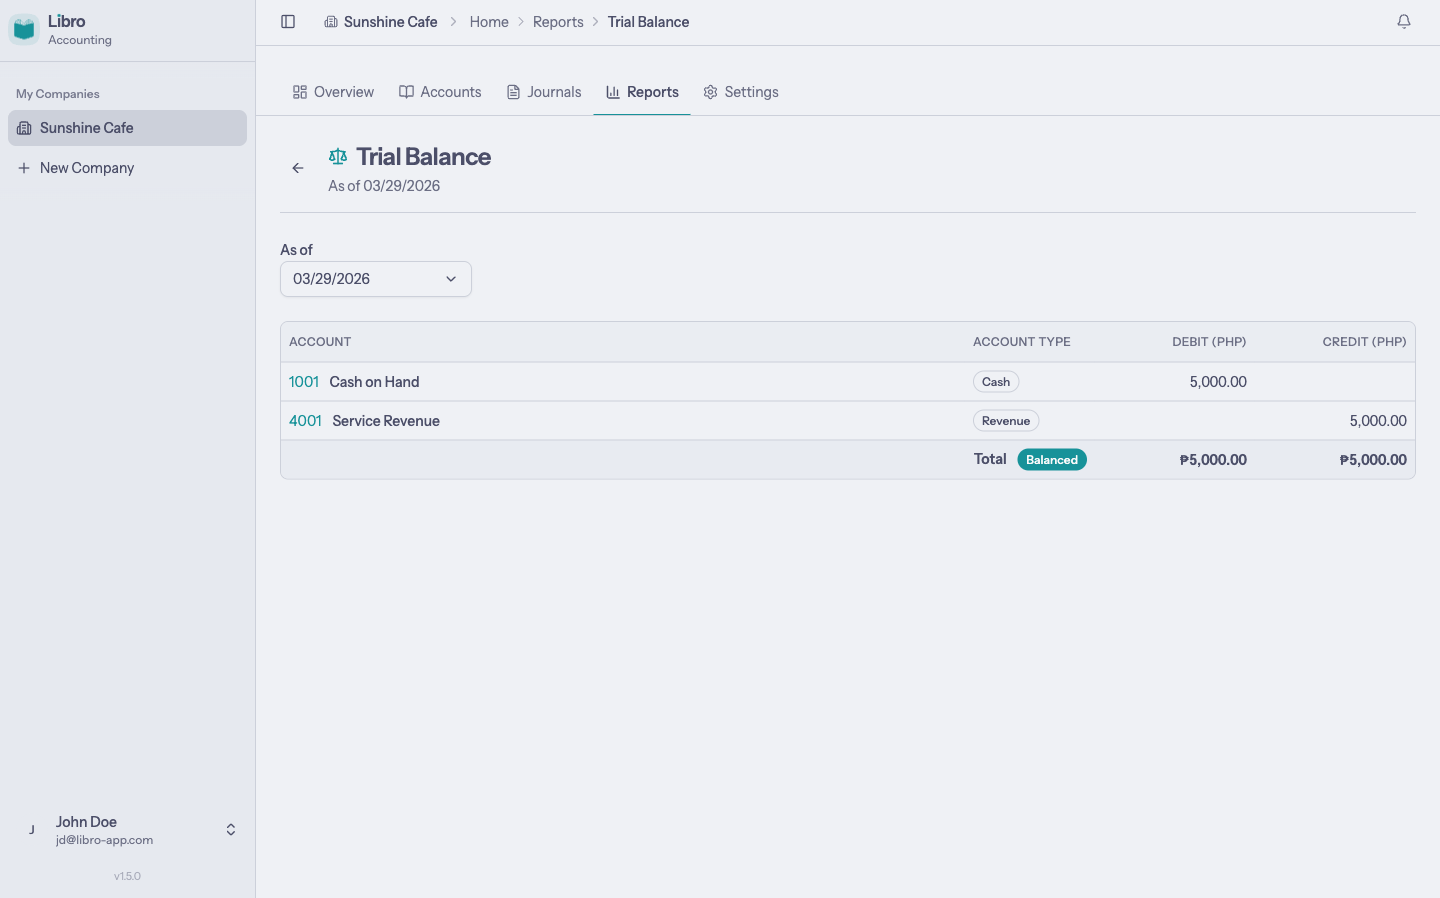
Trial Balance
Shows all accounts with their debit and credit balances as of a specific date. Use this to verify that your books are balanced.
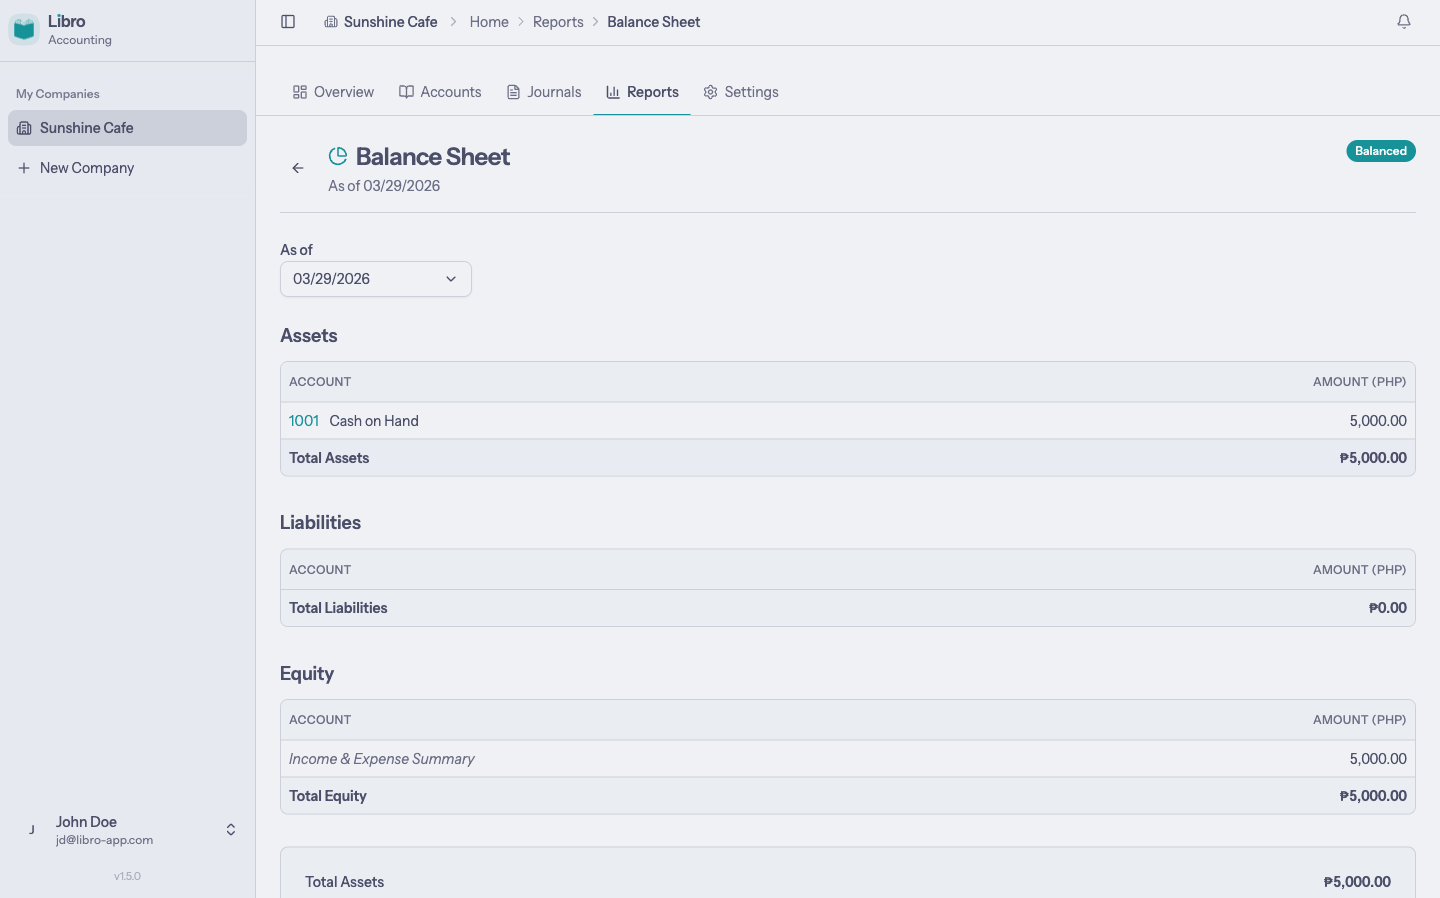
Balance Sheet
Your company’s financial position: assets, liabilities, and equity. Libro automatically calculates retained earnings from your income and expense accounts.
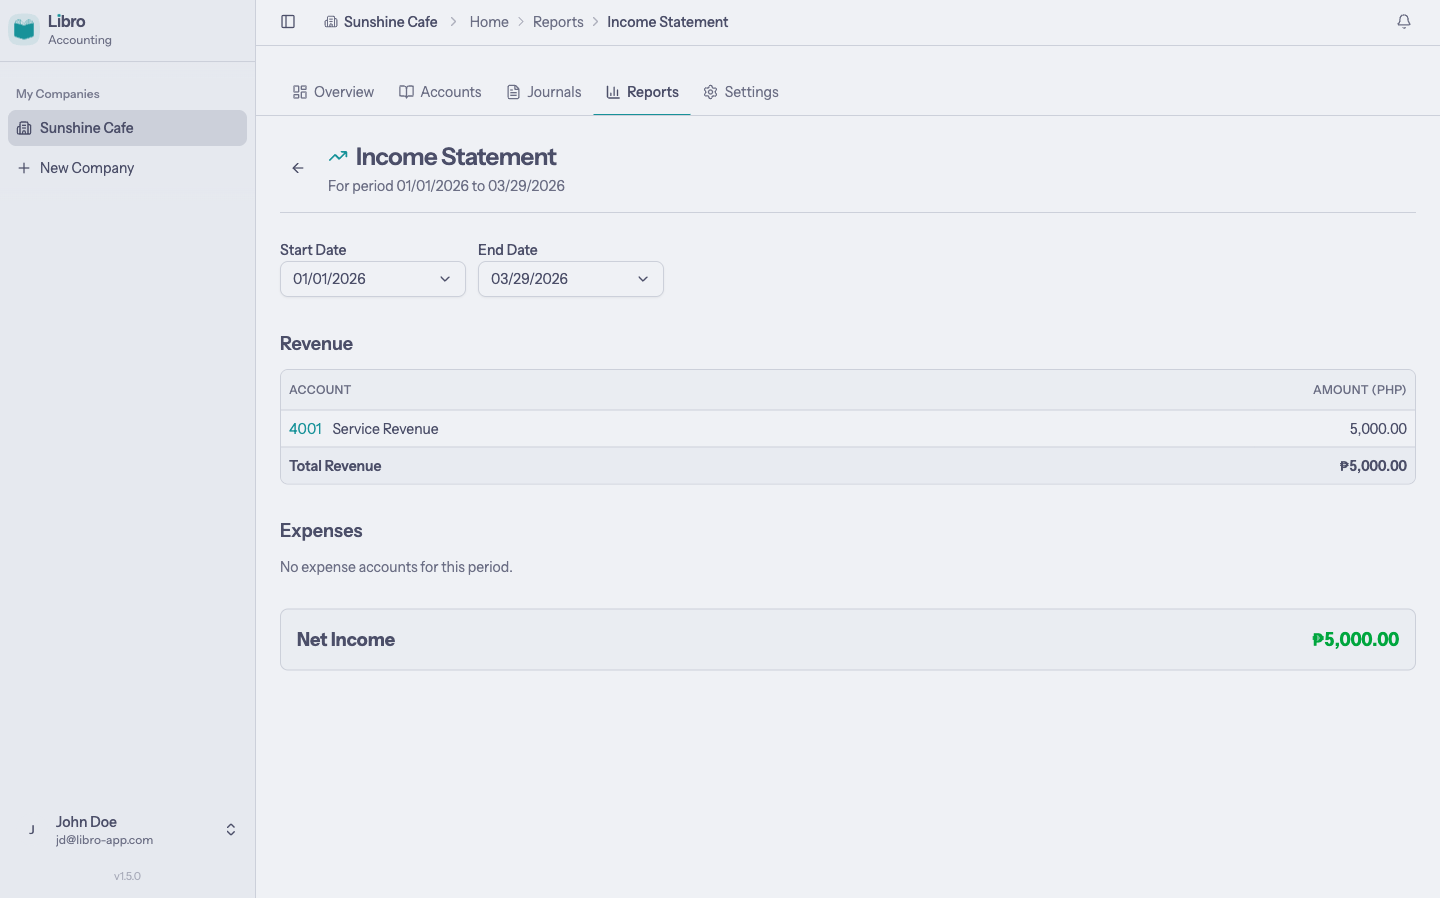
Income Statement
Revenue minus expenses for a given period. Shows whether your business is profitable.
6. Configure your settings
Fine-tune your company through Settings in the top navigation.
Company settings
Update your company name, TIN, fiscal year, currency, and contact information.

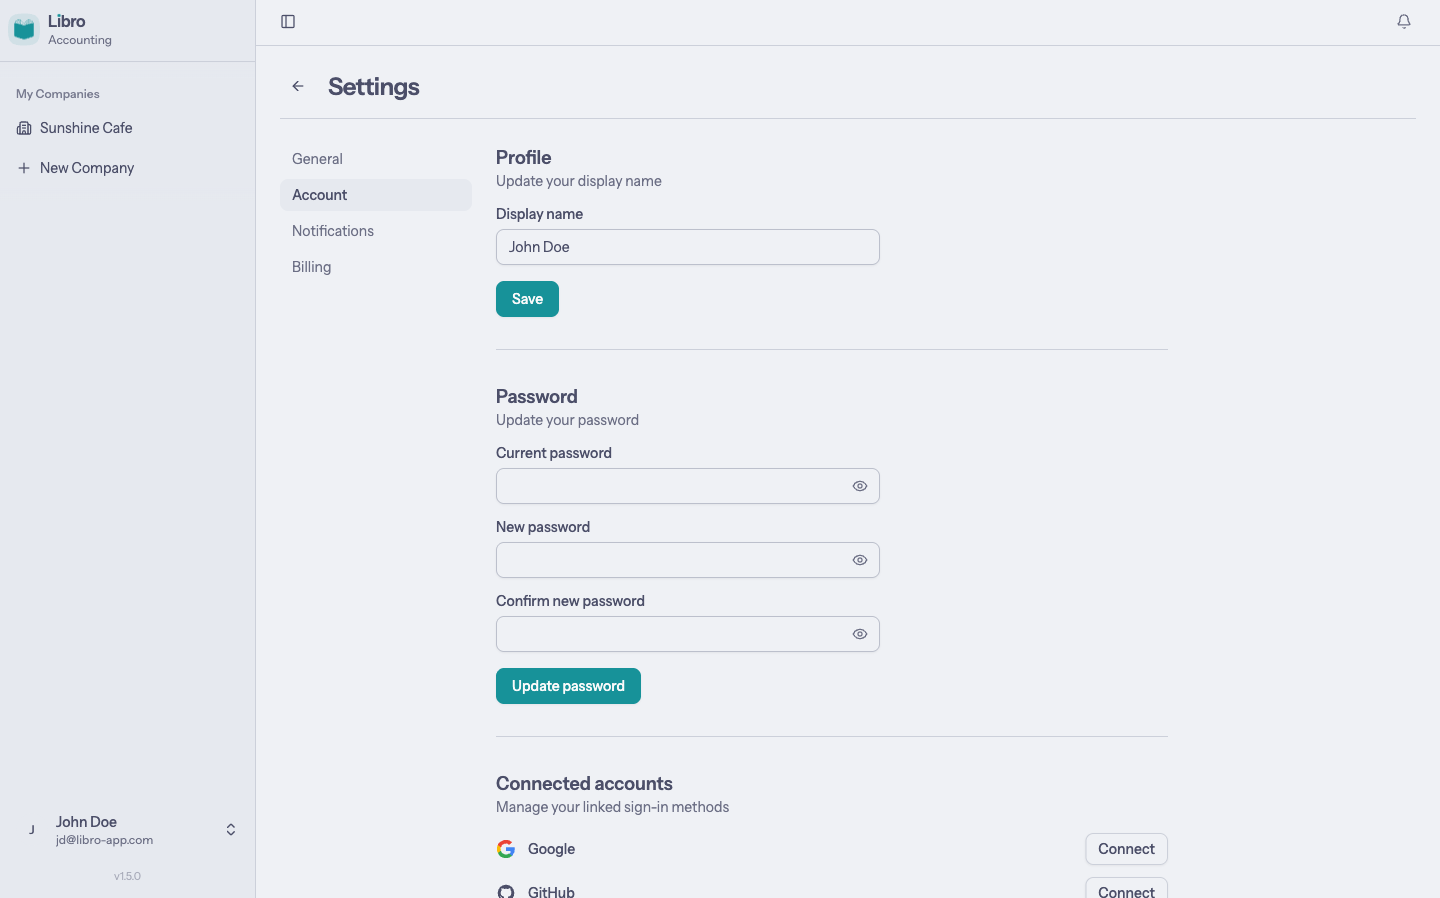
Account settings
Under your personal account settings, you can update your display name, change your password, connect social accounts, and manage active sessions.
7. Invite your team
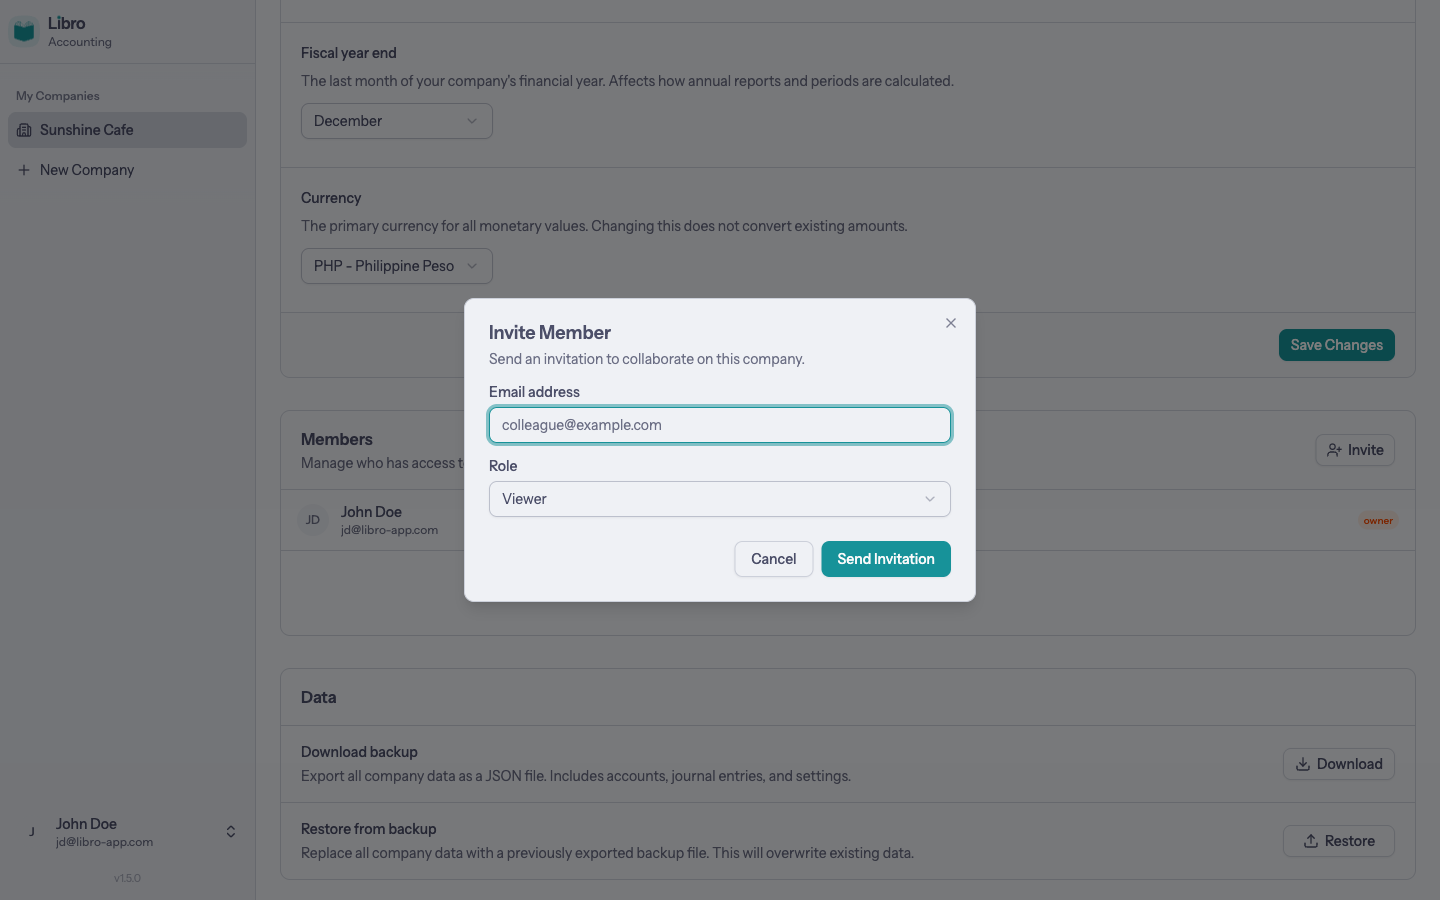
Libro supports team collaboration. In your company Settings page, scroll down to the Members section and click Invite.
Enter an email address and assign a role:
- Viewer can see all data but can’t make changes
- Editor can create and modify entries and accounts
- Admin has full access including company settings and team management
Invited members receive an email with a link to join. They’ll need a Libro account to accept the invitation.
Next steps
You’re all set. Here are some things to explore next:
- Journal Entries to learn advanced entry techniques and workflows
- Chart of Accounts to customize your account structure with parent-child relationships
- Reports for a deep dive into each report type and filtering options
- Settings to configure notifications, billing, and subscription plans